Solid hardwood
Grain and color are part of the design. A wide solid-wood tabletop needs room to expand and contract across its width as humidity changes.
A look at the drawings, material choices, and checks behind a handcrafted piece.
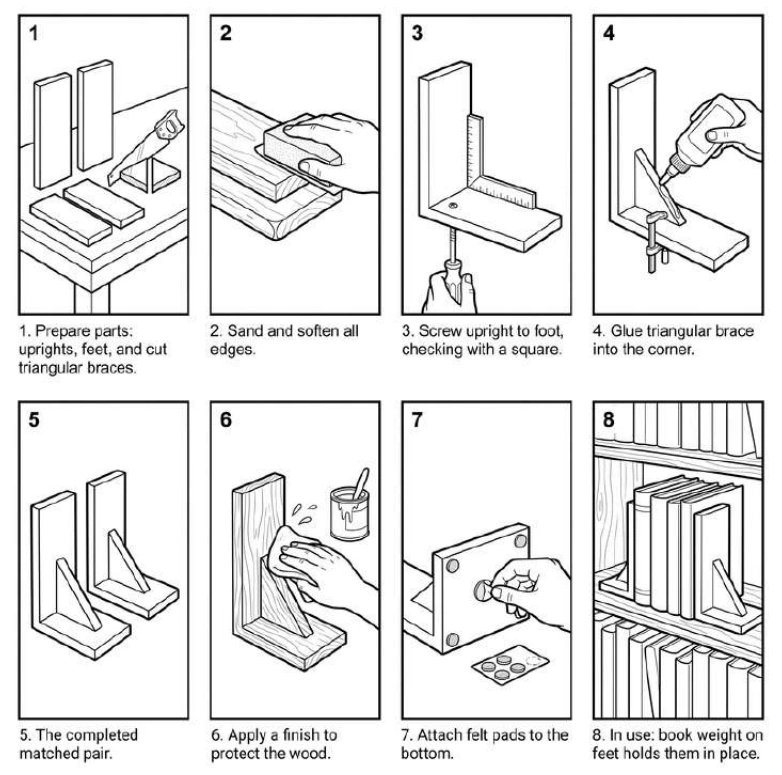
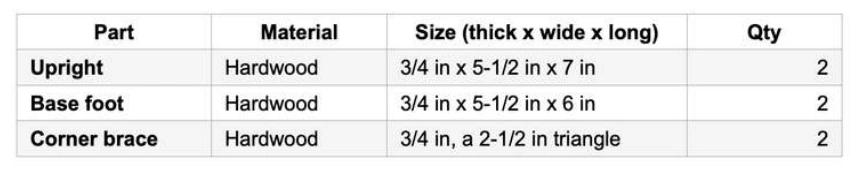
A cut list gives each part’s finished size. This example shows one right-angle bookend. The upright sits on the base, so its height and the base thickness add up to 6 inches.
| Part | Qty | Size (in) |
|---|---|---|
| Base | 1 | 5 × 5 × ¾ |
| Upright | 1 | 5 × 5¼ × ¾ |
Check the actual thickness of your stock and leave room for the blade kerf between parts.
Grain and color are part of the design. A wide solid-wood tabletop needs room to expand and contract across its width as humidity changes.
Cross-laminated layers help keep broad panels stable. Measure the sheet itself before sizing a joint for nominal ¾-inch stock.
For a planter, think through the whole assembly. Pair suitable stock with compatible exterior adhesive, corrosion-resistant fasteners, drainage, and a finish meant for exposure.
Dry-fit the pieces before applying glue. On a rectangular frame, measure both diagonals and check that the corners sit flat before the assembly sets.
Test the complete finish on an offcut from the same stock. Check the color and sheen in the room’s light and follow the finish maker’s cure schedule.
Discuss materials for your projectLook at how the sources present dimensions, parts, and materials. Select an image to view the full excerpt.